Monitoring of laser narrow-gap weldings of thick-walled components
Current research


Components assembled from thick metal sheets are usually produced using conventional welding techniques. In recent times, laser multi-pass narrow-gap welding has increasingly been utilized for this purpose. Using this laser technique, metallic components with a large wall thickness of up to 100 mm can be welded efficiently. Due to economic reasons, a conventional NDT approach based on ultrasonic testing of fully welded components after the welding process is inefficient. If structurally relevant defects are found, a repair is no longer possible and the whole component has to be rejected. In order to allow for the identification of defects during the welding process, a temperature-resistant in-line monitoring approach would be necessary but is not yet available. In a collaboration project with the Fraunhofer Institutes IKTS, IWS (laser narrow-gap welding) and IWM (material analysis), funded by the Fraunhofer-Gesellschaft within the context of the WISA program, a multi-method approach based on three complementary testing procedures has now been developed and successfully verified.
Ultrasonic phased-array testing
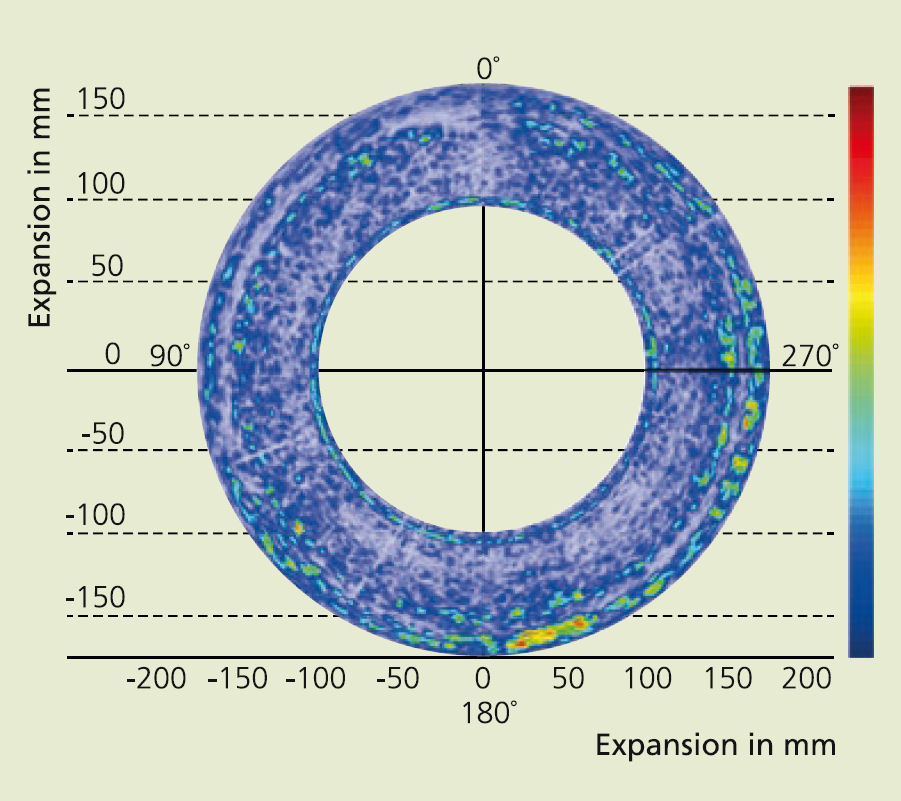
Using a phased-array transducer consisting of a large number of single elements and the PCUS® pro Array electronics developed at IKTS, it is possible to efficiently steer and focus sound beams, thus capturing the entire depth of the narrow-gap weld and display defects. In addition, a high-temperature and in-linecompatible test concept was developed, for which special probe wedges with integrated coupling and coolant circuits are used.
Acoustic emission testing
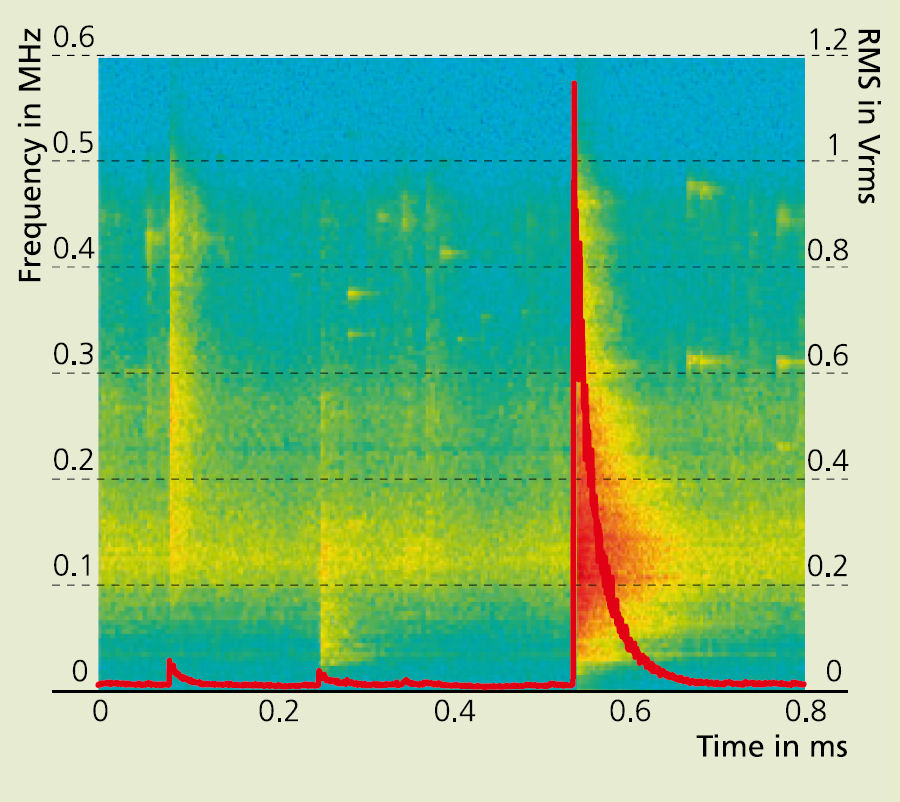
A welding process continuously produces acoustic emissions (AE). These are detected by an AE sensor placed directly on the surface of the welded component. Following data reduction the in-line acoustic signatures in the frequency range between 50 and 600 kHz are compared with a database of reference signatures. This comparison allows to evaluate the welding process and identify defects and other imperfections and irregularities.
Laser speckle photometry (LSP)
LSP is a method of evaluating speckle patterns produced by laser illumination of the weld immediately behind the weld beam. A CMOS camera detects and evaluates these patterns and their temperature- and time-dependent behavior in-line. Correlations between speckle signals and surface-related defects on the one hand, and changes in process parameters on the other, have already been metallographically verified.