Quality control of advanced ceramics: in-line testing starts with the green body
High-performance ceramics provide key components for liquid filtration, sensors or solid electrolyte high-temperature energy storage systems – but only if they are defect-free. To detect rejects at an early stage, researchers at Fraunhofer IKTS have developed a fast, non-destructive and in-line inspection method based on laser speckle photometry.


High-performance ceramics are established in many application areas. Despite optimized manufacturing technologies, production is sometimes prone to defects. Cracks, break-outs or inclusions have a negative impact on the quality of the component. Therefore, it is important to detect these defects as early as possible in the manufacturing process, ideally before expensive sintering. Until now, there has been no satisfactory automated solution for inspecting components – from the green body to the sintered material.
New solution for quality control: Laser speckle photometry
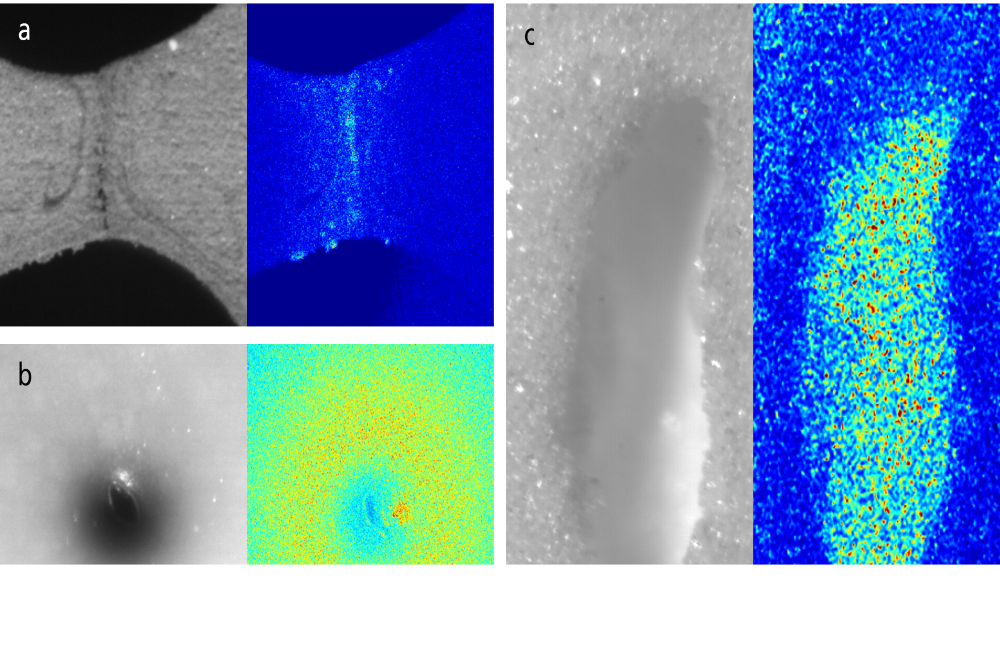
A sensor concept developed at Fraunhofer IKTS based on laser speckle photometry (LSP) promises a remedy. It is used to non-destructively determine defects near the surface of technical ceramic components. After excitation by a short laser pulse, the surface heats up by a few Kelvin. This creates a dynamic speckle pattern from whose characteristic change over time defects in the material can be detected without affect-ing the component.
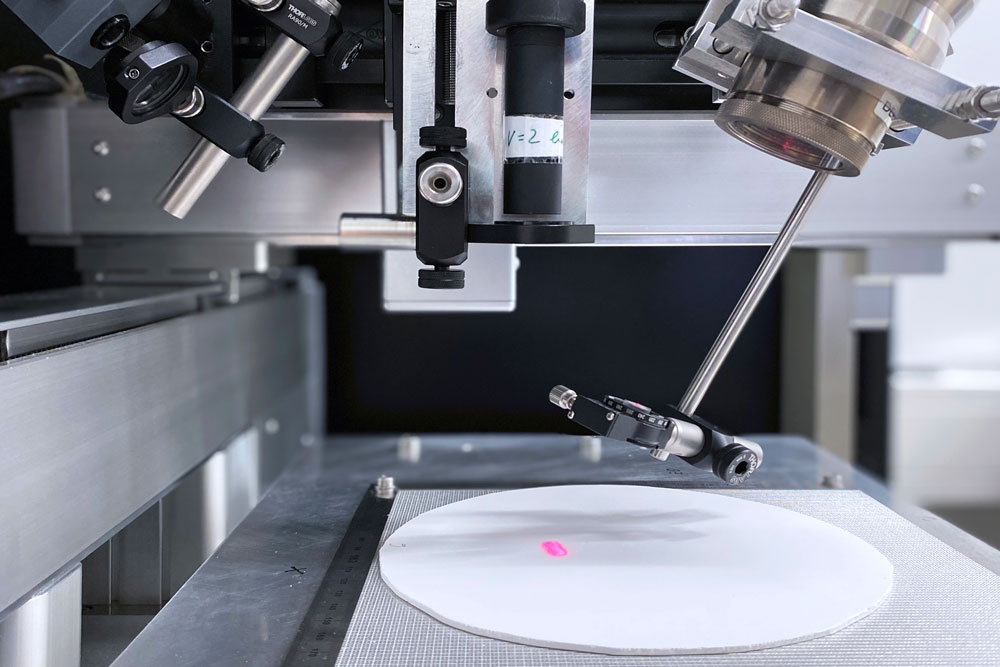
The system consists of laser diode, digital camera and excitation source. This small and at the same time robust setup is characterized by low costs and a very fast measurement: Depending on the resolution and computing technology, for example, a component of the size 30 x 30 mm² is tested in 60 seconds. Almost all common materials, such as Al2O3, TiO2, ß-Al2O3, MgO or SiC, can be examined in the process.
Various measurements with one system
In addition to a modular demonstrator, a compatible software kit was developed at Fraunhofer IKTS in the IGF project “OptiKer”(industrial joint research: Development of an in-line optical method for the non-destructive testing of high-performance ceramic components). Robotic sensor guidance enables inspection of both planar and three-dimensional components.
The system can be equipped with different objectives and has a maximum optical resolution of 10 μm. “So far, we had samples with defects of at least 70 μm at our disposal, which we detected without any problems with this demonstrator. However, smaller defects can also be detected. The determination of the defect size is relevant because the permissible load of the component depends on the volume of the maximum defect. In addition to defects in the material, the porosity, in the specific project that of Al2O3, was also determined. Thus, the method offers the possibility to realize different tasks in in-line applications with a single measurement setup,” explains Lili Chen, scientist in the IKTS Speckle-Based Methods group.
Qualification for production lines
With this demonstrator, industry partners can order measurements as a service. The system outputs the results in real time and reliably detects defects. In order to evaluate the defects automatically in the future, the participants are working on the development of algorithms for classification and on concepts for inline inspection systems.
Fraunhofer IKTS presents this and other trends at the ceramitec fair in Munich on September 15 and 16, 2021.