Optical in-line monitoring of high performance ceramics production
Current research


Characterization is essential for the quality control of high-performance ceramics. Despite optimized production technologies, defects still occur in the manufacture of ceramic materials due to the complexity of the processes. The detection and elimination of cracks, disruptions and inclusion defects is very time- and cost-intensive. In commonly used visual inspections, detection of defects is subjective and depends on the size. Established non-destructive test methods are usually costly because the samples need to be scanned individually on laboratory equipment. Usually, this equipment can be integrated into the production process only with difficulty, or not at all.
Quick, in-line-capable ceramic testing with LSP
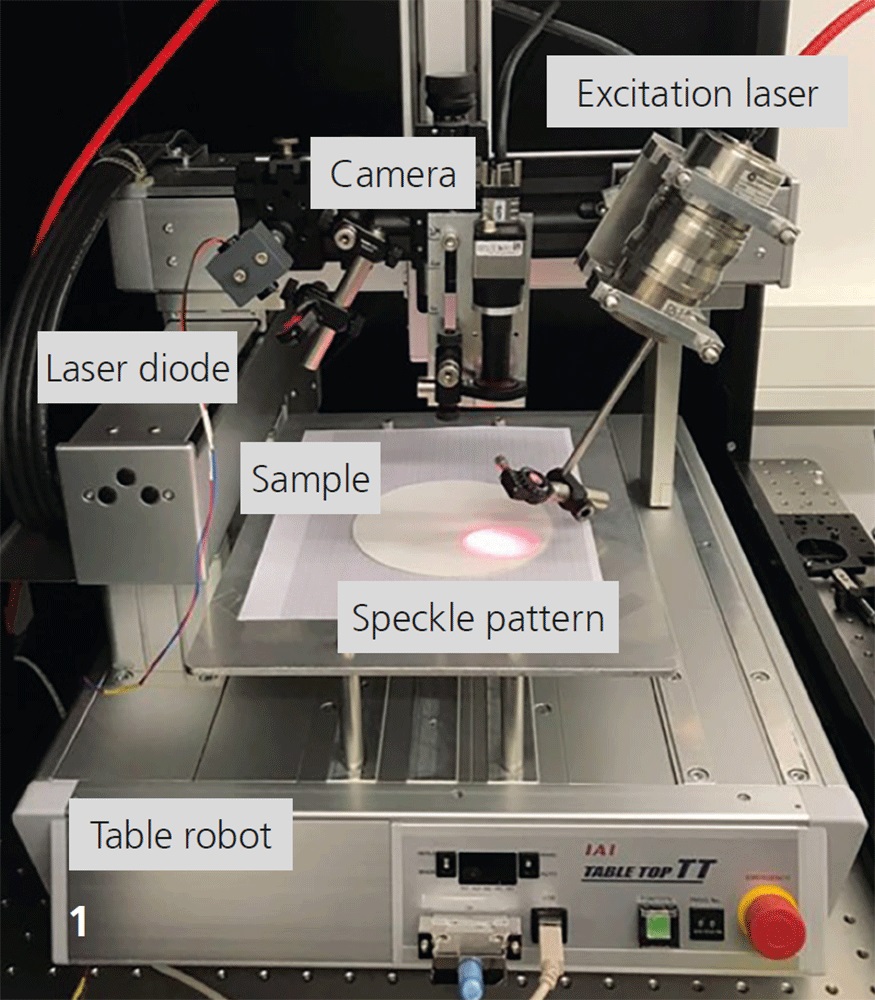
Time-resolved laser speckle photometry (LSP) is a relatively young method, which can be used for optical defect control. It creates the possibility of determining in-line the porosity and surface defects of different types and sizes. It boasts a simple, robust design and low costs compared with competing measuring methods. The method is based on the evaluation of the temporal change of speckle patterns, for which an optically rough surface is illuminated with a laser beam. The reflection on the surface creates interference patterns, known as speckles. Short thermal excitation leads to changes of the speckle patterns, which are recorded by a camera.
Demonstrator shows compatibility for ceramics testing
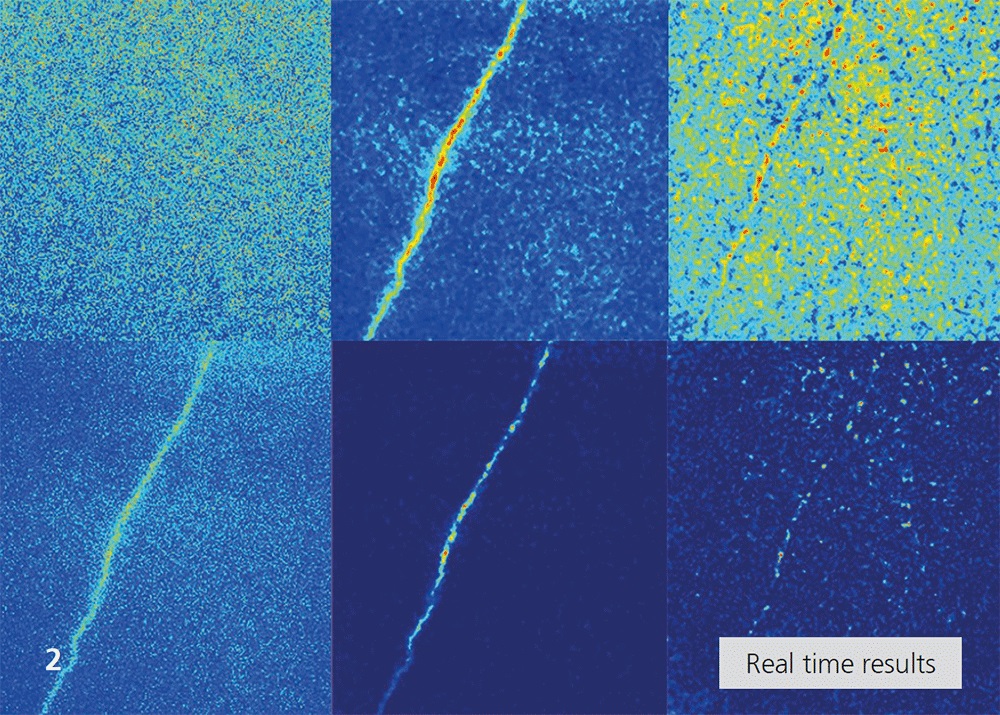
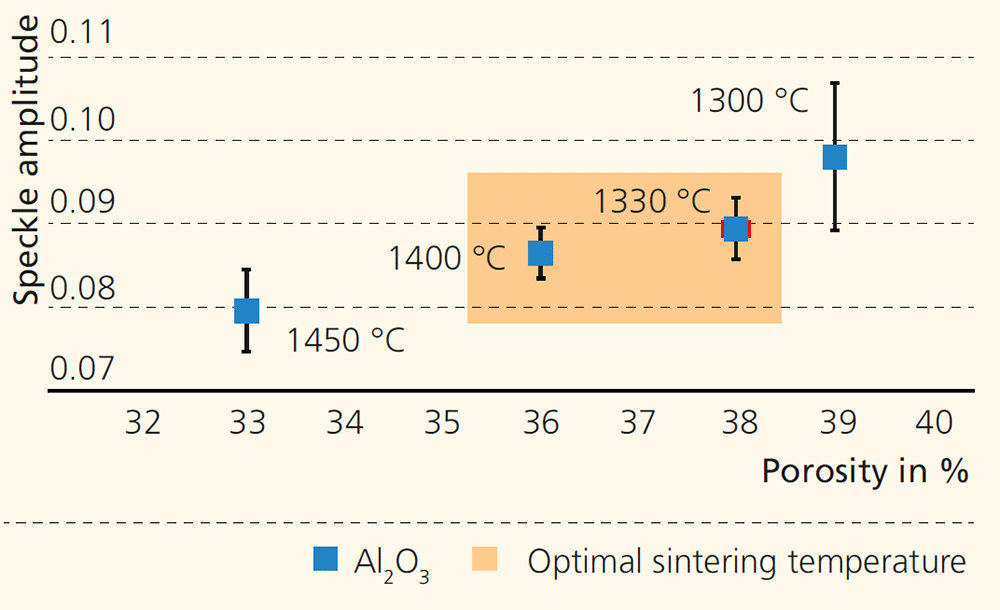
Within the IGF project “OptiKer“, a concept for quality monitoring of ceramic materials based on LSP was developed. In a first step, dense Al2O3 components (e.g. Na β'' aluminate), porous oxide, silicate and non-oxide ceramics were produced and characterized. At the same time, a robot-guided demonstrator was designed and built, which is able to detect porosity and defects as small as 70 μm in sintered and unsintered ceramics. By evaluating the change of the speckle amplitude, deviations in porosity in the sintered ceramics can also be characterized. The measurement and evaluation time for a flat sample with a diameter of 30 mm is four minutes, which can be significantly shortened through powerful computing technology.
Supported by
