Optical coherence tomography monitoring of selective laser melting
Current research

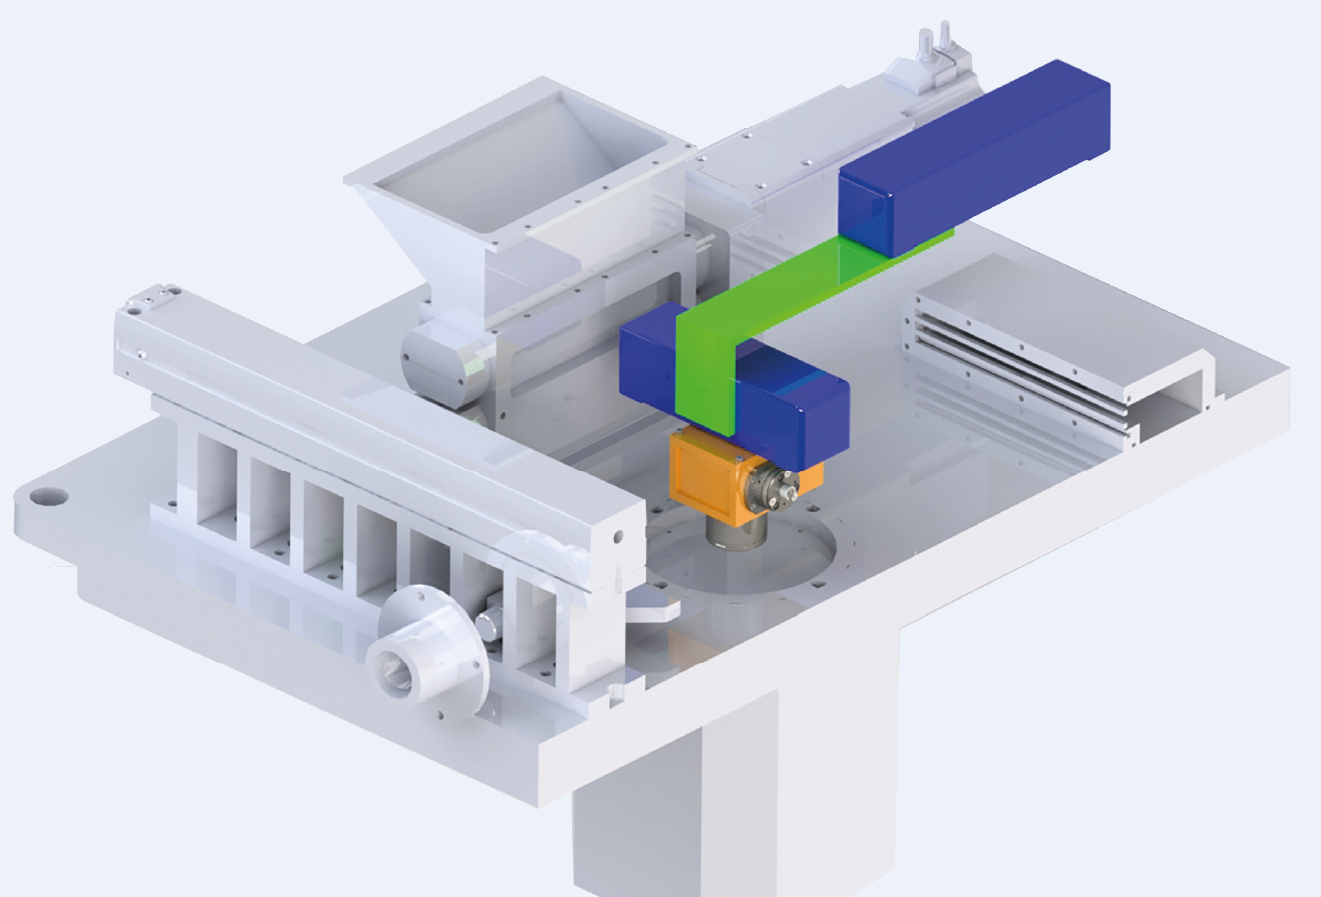
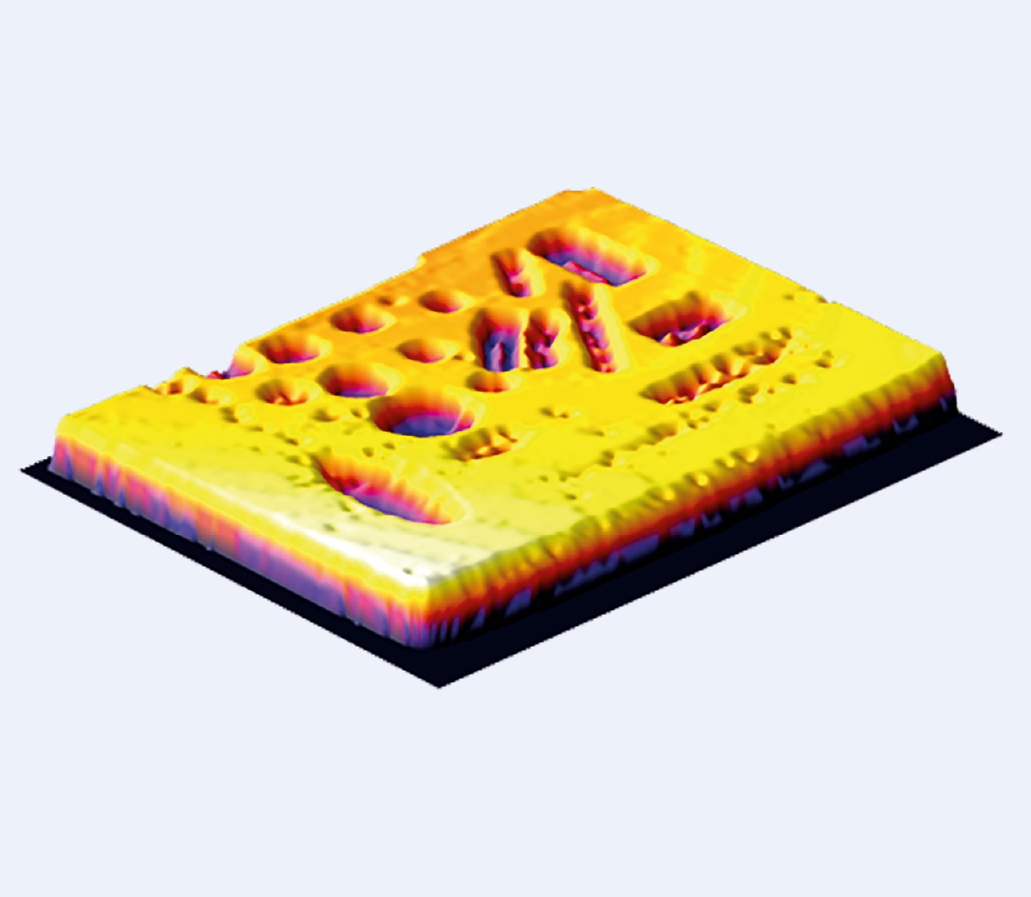
Additive manufacturing (AM) of medical, automotive, and aerospace products is becoming increasingly important. This requires new lines of quality control. In contrast to conventional production, batch sizes in additive manufacturing are usually only a few parts, or even only one part, per production run. As a result, statistical test methods, such as random samples tested with laboratory equipment, cannot be used effectively. In addition, production errors should already be detected during the manufacturing process in order to intervene promptly and thus save valuable time and material. 100 % monitoring therefore requires not only adequate measurement technology, such as optical coherence tomography (OCT), but also a corresponding feedback loop. For this purpose, in a project funded by the ZIM, optical coherence tomography was qualified for the monitoring of selective laser melting (SLM). The project partners are IMM electronics GmbH, Nanoval GmbH & Co KG, the Fraunhofer Institutes IKTS and IGCV, Yonsei University, as well as Sentrol Inc., who provide a self-designed SLM machine for the integration of OCT. Currently, SLM processes are controlled using melt pool monitoring. OCT has advantages over this process because it supplies high-resolution 3D surface data of the finished parts. With the collected data it is possible, for the first time, to record errors during the process. In later projects, these can be the basis for machine-learning, which generates signals for a feedback loop from the OCT data. The boundary conditions for the integration are very complex. Firstly, the installation space in the machine is very limited; furthermore, critical process conditions, like large temperature variations and contamination of the measurement system during operation, must be taken into account. In a first step, the measuring head of the OCT system is minimized and adapted. Another challenge lies in the large size of the measuring field, which is 10 cm in diameter. Toward the end of the project, an OCT tomogram of such a size will be measured for the first time. Surface data is obtained from the tomogram, which is then compared manually with the underlying construction (CAD) data. The required time for measurement and evaluation is not the primary focus during this project phase. It will be optimized in a follow-up project, with the introduction of a feedback loop. In the future, the developed process monitoring concept will be adapted for other AM procedures. Particularly, the expansion to other materials, such as additively manufactured ceramics, biological materials or plastics is planned or already being carried out. For these materials, OCT offers further advantages, since deeper defects, such as delamination or inclusions between the layers, can be detected.
We thank the AiF for funding this project in the ZIM program.


