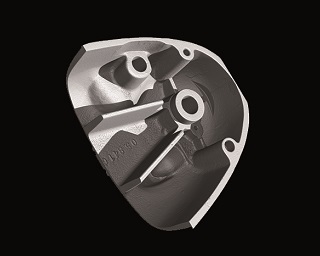
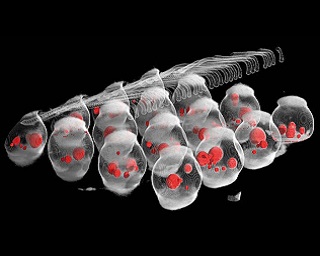
With modern 3D X-ray methods, such as micro-computed tomography (micro-CT) or high-resolution computed laminography, Fraunhofer IKTS is able to detect defects, make internal structures in components visible and obtain further information from test objects. Thus, these X-ray methods are ideally suited to perform completeness analyses, pore analyses, void analyses or dimensional accuracy analyses. Three-dimensional images for non-destructive material diagnostics are calculated from the raw data obtained by radiographing the components, which in turn can be used to generate any desired sectional images. For example, material defects, such as inclusions, cracks or pores, can be displayed in high resolution in the 3D X-ray images of printed circuit boards, batteries, aluminum die-cast parts, ceramic components, CFRP components or art and cultural objects.

