Mechanical testing

Materials characteristics, such as strength, hardness, and fracture strength, are critical for component design and improvement of advanced materials. Fraunhofer IKTS draws on a number of standard and non-standard test methods to determine the mechanical properties of materials at all stages of the development cycle.


The Dresden and Hermsdorf siites are extensively equipped with in part unique facilities for performing numerous mechanical tests on materials, components, and products. Applications range from material and component tests within the scope of R&D, tests for process and manufacturing monitoring as well as QA, and customer- and application-based tests. All standard processes as well as application-specific processes for determination of materials characteristics, e.g., at elevated temperature or after aging in various media, can be performed. Measurement capabilities at IKTS range from high-temperature strength and creep resistance measurement to hardness measurement at temperatures ranging from room temperature to 1500 °C. Through this, materials properties can be determined at the temperature ranges relevant to the respective applications. As a result, better insight into the behavior of the materials can be gained and component design can be more specific.
Measurement quality and reproducibility are ensured through continuous improvement of test and analysis methods as well as regular calibration of test equipment.
Services offered
Determination of strength and elastic properties
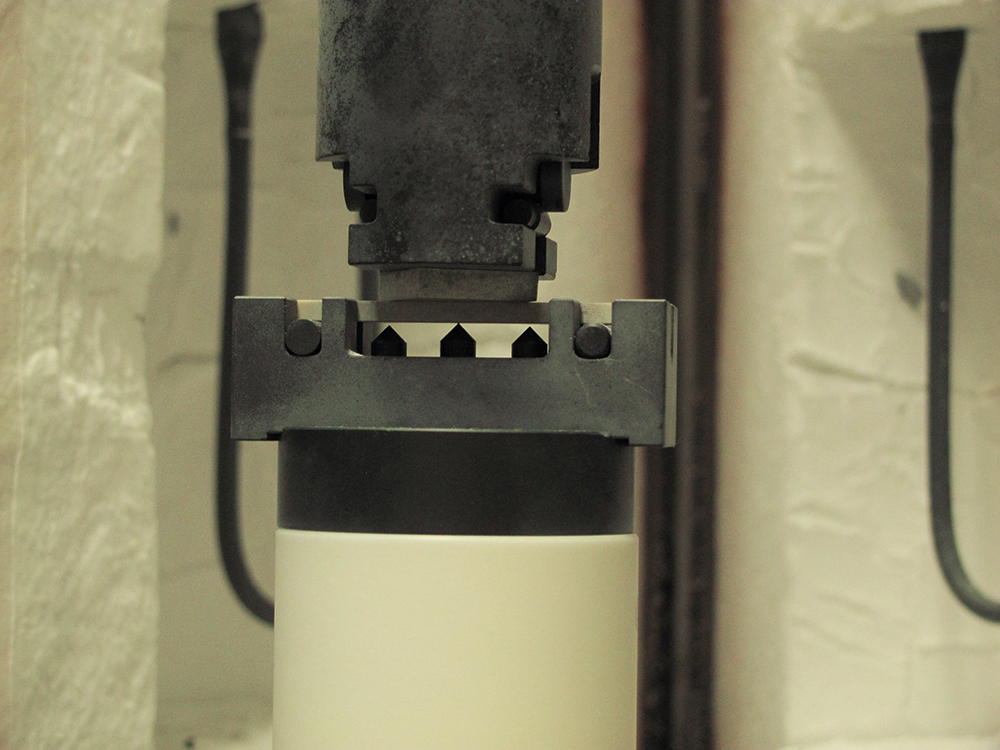
- Flexural strength (three- and four-point bending) up to 100 kN in accordance with DIN EN 843-1
- Compressive strength up to 100 kN (without measurement of change in length: up to 2 MN) in accordance with DIN 51104
- Combined tension and compression testing (100 kN) with torsional loading up to 100 Nm
- Torsion testing
- Tensile strength testing with strain measurement up to 100 kN
- Testing under multiaxial loads
- Tensile and flexural bond strength testing
- Determination of Young’s modulus under static bending loads in accordance with DIN EN 843-2
- Statistical analysis of strength measurements (Weibull modulus determination in accordance with DIN EN 843-5)
- Fractography/fracture surface analysis (according to DIN EN 846-6)
- Determination of Young’s modulus, shear modulus, and Poisson’s ratio using pulse and resonance methods
Specific mechanical methods
- Burst strength testing
- Shear testing
- Testing of loads arising from vibration or mechanical shock
- Biaxial stress measurement
- Acoustic emission testing under mechanical and thermal loads
- Measurement of residual strength following thermal shock loading
Hardness
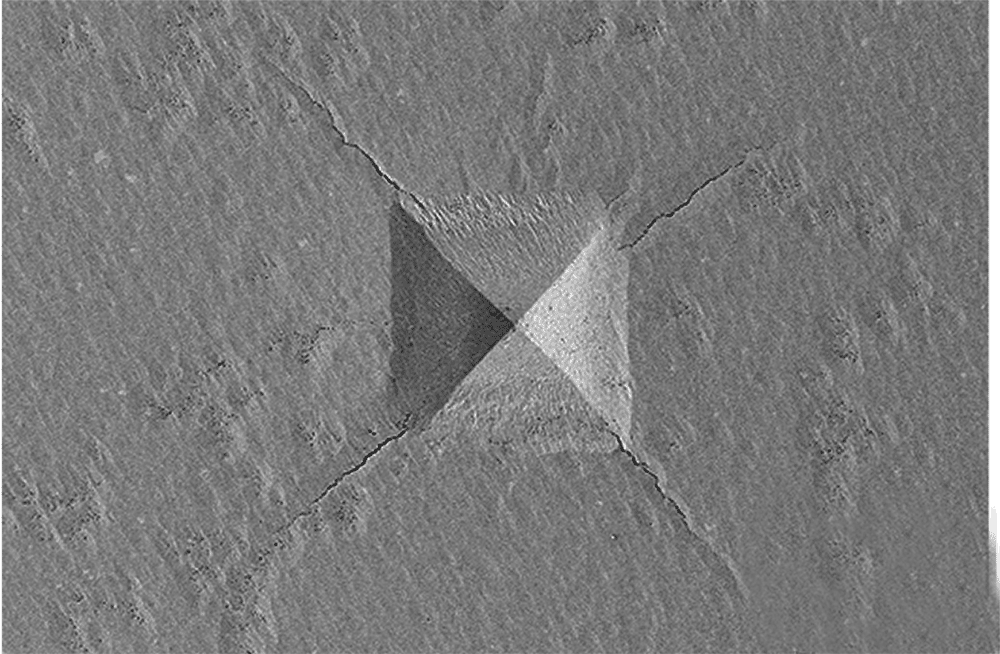
- Vickers and Knoop micro- and macrohardness (HV0.025 to HV50: 0.25 to 490.3 N) in accordance with DIN EN 843-4, Brinell and Rockwell hardness
- Characterization of thin films: instrument-based penetration testing (0.01–30 N), scratch testing in accordance with DIN EN 14577
- Production of hardness test blocks made of Si3N4 (1400 to 1600 HV1), SiC (2000 to 2200 HK1), and Al2O3 (2000 to 2200 HV1) with calibration certificates
Fracture toughness KIC
- From bending tests on notched specimens (SEVNB method) in accordance with DIN EN ISO 23146, from crack lengths from Vickers hardness indentations (IF method)
Dynamic loading
- Impact testing in accordance with DIN EN 60068-2-75
- Pendulum impact testing
Testing at elevated temperatures
Strength in air < 1600 °C, alternatively in vacuum to
1400 °C, 1 kN
- Flexural strength (three- and four-point bending) in accordance with DIN EN 820-1
- Young’s modulus (four-point bending in air)
- Compressive strength
Creep and fatigue testing in air < 1600 °C, 1 kN
- Creep under constant load (four-point bending) in accordance with EN 820-4
- Material fatigue with dynamic fatigue test (four-point bending)
- Determination of crack growth by means of fractographic investigations
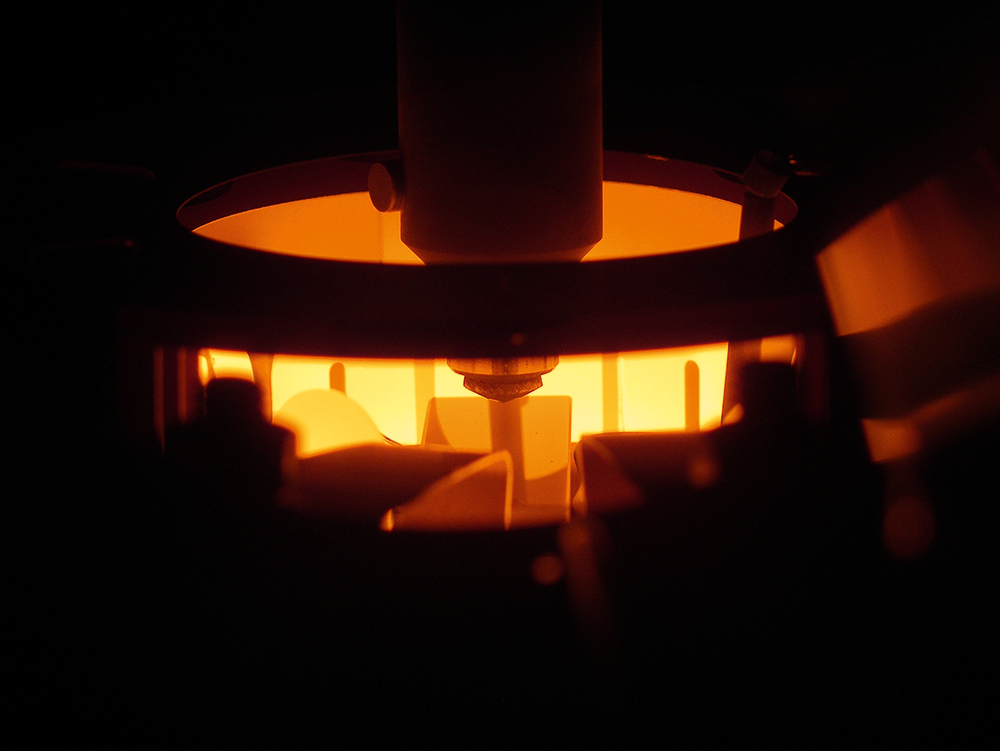
High-temperature hardness up to 1500 °C in a vacuum
- HV0.2 to HV30 (2.0 to 294.3 N)
Micromechanical testing